
iPhone photo editing
How to remove the background from an image on iPhone
You can remove a photo background on iPhone without a desktop editor. Use the built-in subject cutout for a quick copy, Preview on iOS 26 or later or Files for a separate background-free image, or an AI editor when you need cleaner edges or a replacement background.
The quickest answer
For a fast cutout in Photos, open the image and touch and hold the main subject until a bright outline appears. Choose Copy or Share to use the isolated subject in another app. This separates the subject for sharing, but it does not turn the original photo into a fully editable layered image.
If your iPhone runs iOS 26 or later, open the image in Preview and choose Remove Background from the More menu to create a new image file. On iPhone versions that expose the command in Files, you can also touch and hold the file, choose Quick Actions, and select Remove Background. Preview is not available on iOS 18 or earlier.
Method 1: lift the subject in Photos
Open Photos and choose an image with one clear subject. Touch and hold the person, pet, product, or object. When the subject is outlined, choose Copy to paste it into a message, note, or design app, or choose Share to send or save the cutout.
This method is best when you only need the subject for a sticker, message, presentation, or quick composition. It may not provide the file workflow or edge control you need for a product listing, logo, or reusable transparent PNG.
- Best for one clear person, pet, product, or object
- Fastest way to copy a subject from Photos
- Does not replace the background inside the original photo
- Fine hair, fur, glass, and low-contrast edges may need review
Method 2: use Preview on iOS 26 or Files to create a separate image
On iOS 26 or later, open the image in Preview, tap the More button, and choose Remove Background. The option appears only when iPhone can detect a suitable subject. Save or share the result, then place it over another color or image to confirm that the background is actually transparent.
If your iPhone offers the command in Files, first save the photo to Files. Touch and hold the file, open Quick Actions, and choose Remove Background. iPhone creates a separate result so you can keep the original nearby.
- Keep the original until you verify the exported result
- Check whether the saved file preserves transparency
- Zoom in around hair, hands, product handles, and narrow gaps
- Try a higher-contrast source photo if iPhone cannot find the subject
Method 3: remove or replace the background with AI
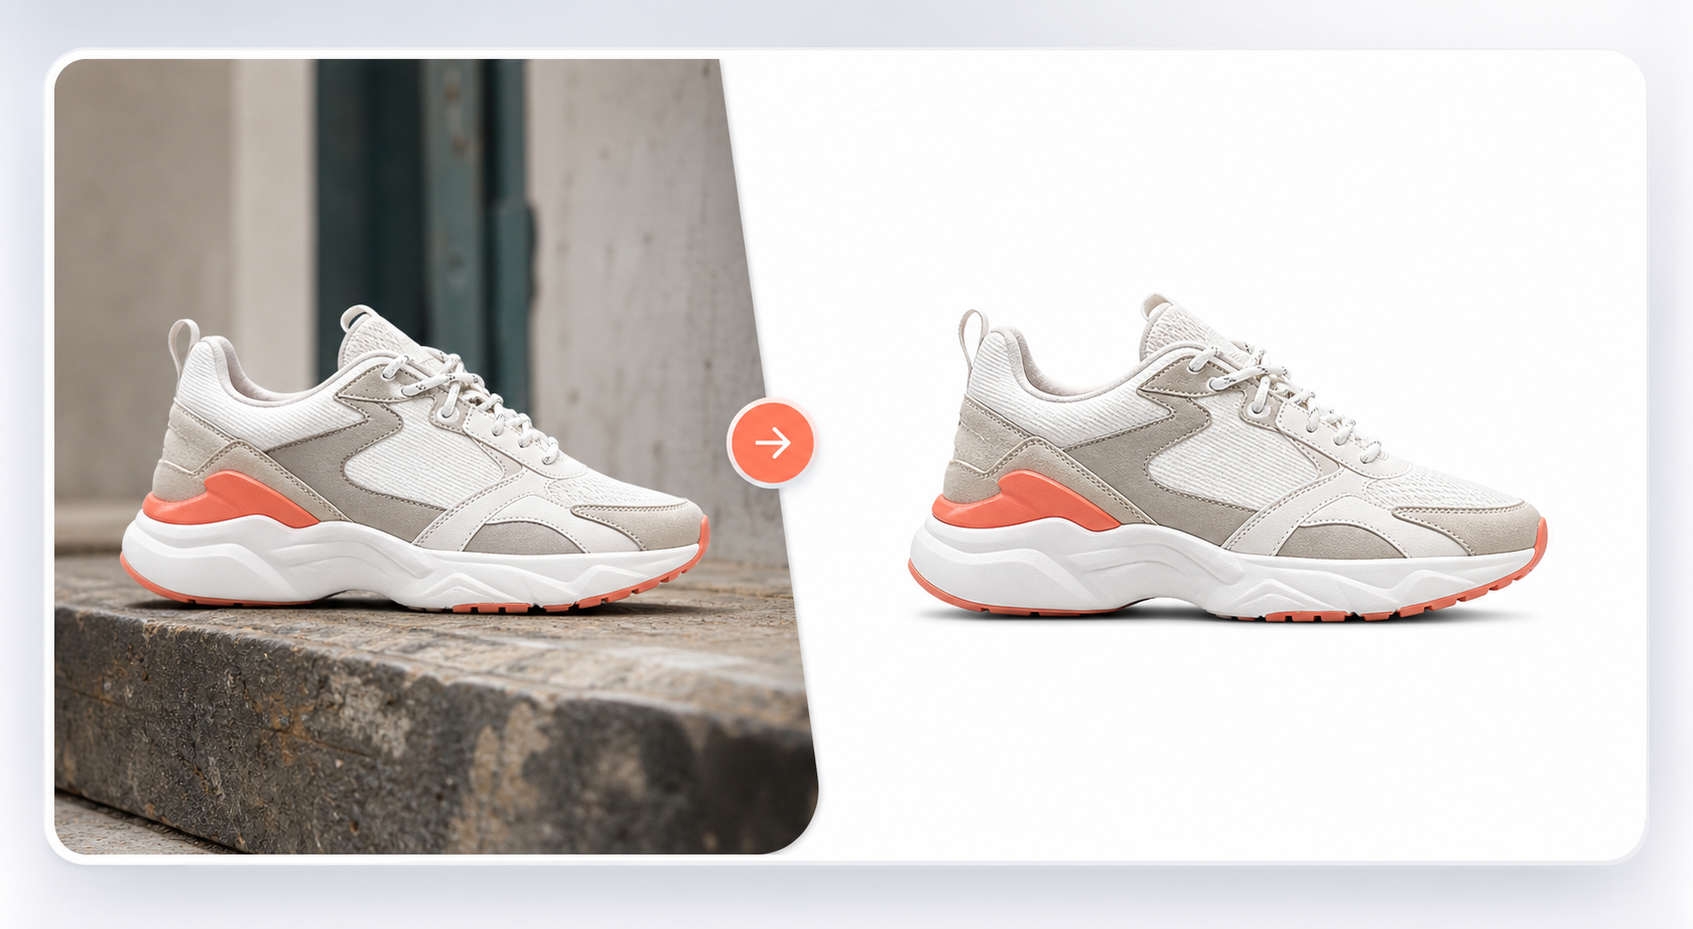
Use an AI background remover when the built-in cutout misses part of the subject, when you want a white or colored background, or when the finished image needs a new setting. Open Vismuse on your iPhone, upload the photo, and describe both what should change and what must stay the same.
Be specific about the final use. A marketplace product photo may need clean white, centered spacing, and a subtle contact shadow. A profile photo may need a calm studio color while preserving the face, hair, clothing, and expression. Compare the result with the source before downloading.
Choose the right method for the result you need
Use Photos subject lift when speed matters and you only need to copy the subject. Use Preview or Files when you want a separate cutout file. Use an AI editor when you need to refine difficult edges, replace the background, add a natural shadow, or continue editing through follow-up instructions.
Removing a background and removing an unwanted person are different edits. Background removal keeps the chosen subject and discards everything around it. If you want to keep the original scene but erase a person standing in it, use an object-removal or cleanup workflow instead.
Common iPhone background-removal problems
If no outline or Remove Background command appears, iPhone may not detect a clear subject. Try a brighter image, crop closer to the subject, or use an AI editor that accepts a written instruction.
If the result has a white background instead of transparency, check it over a colored canvas. Some previews display transparent areas as white, while some file formats cannot store transparency. Export as PNG when you need a transparent background.
If edges look rough, return to the highest-quality original. Screenshots and compressed social images give the editor fewer edge details to work with.
Workflow
- Choose whether you need a copied subject, a transparent file, or a replacement background
- Try Photos subject lift or the Remove Background command in Preview or Files
- Use Vismuse for difficult edges, a white or colored background, or a new scene
- Inspect the subject at full size and verify transparency before using the image
Tips
- Start from the original photo instead of a screenshot whenever possible.
- Use PNG when the final image must preserve a transparent background.
- Describe the face, text, logo, colors, and proportions that must remain unchanged.
- Check fine hair, fur, glass, spokes, handles, and shadows at full size.
- Keep the source photo until the exported file works in its final destination.
Related resources
- Background Remover documentation — Learn the complete Vismuse workflow for transparent, white, colored, and generated backgrounds.
- Remove people from pictures on iPhone — Keep the scene and erase an unwanted person instead of removing the whole background.
- Apple photo cutout instructions — Review Apple’s current steps and device requirements for lifting a subject from a photo.