Measured keyword targets
These queries were checked for US search demand and keyword difficulty before this guide was added.
| Query | Monthly volume | KD |
|---|---|---|
| how to make a flyer on word | 880 | 29 |
| how to make flyers on word | 590 | 20 |
| how to make a flyer in word | 590 | 31 |
| how to make a flyer using word | 260 | 24 |
Start with a flyer-friendly page
Open Word, choose a blank document or flyer template, and set the page orientation and margins before designing. For most printed flyers, portrait letter size is easiest. For wide announcements, landscape can work if the headline stays readable.
Use one page only. A flyer should not read like a document with multiple paragraphs; it should guide the eye from headline to details to CTA.
- Letter or A4 page size
- Portrait or landscape orientation
- Narrow margins
- One headline
- One CTA
Build the hierarchy with text boxes and shapes
Use a large headline near the top, a visual area in the middle, and a details or contact block near the bottom. Text boxes and simple shapes make Word easier to control than typing everything into normal paragraphs.
Keep fonts limited. One headline style, one body style, and one CTA treatment are usually enough for a clean flyer.

Keep Word layout objects stable
Set text boxes and images to a predictable wrapping mode before you spend time styling. Square, tight, or in front of text can work, but mixing too many wrapping modes makes the flyer shift when you edit copy.
Group related objects when the headline, date, and CTA should move together. Then check the page at 100 percent zoom and print preview so contact details, margins, and image crops still look intentional.
- Use text boxes for headline and CTA
- Set image wrapping before styling
- Group related objects
- Check print preview
- Export a PDF for sharing

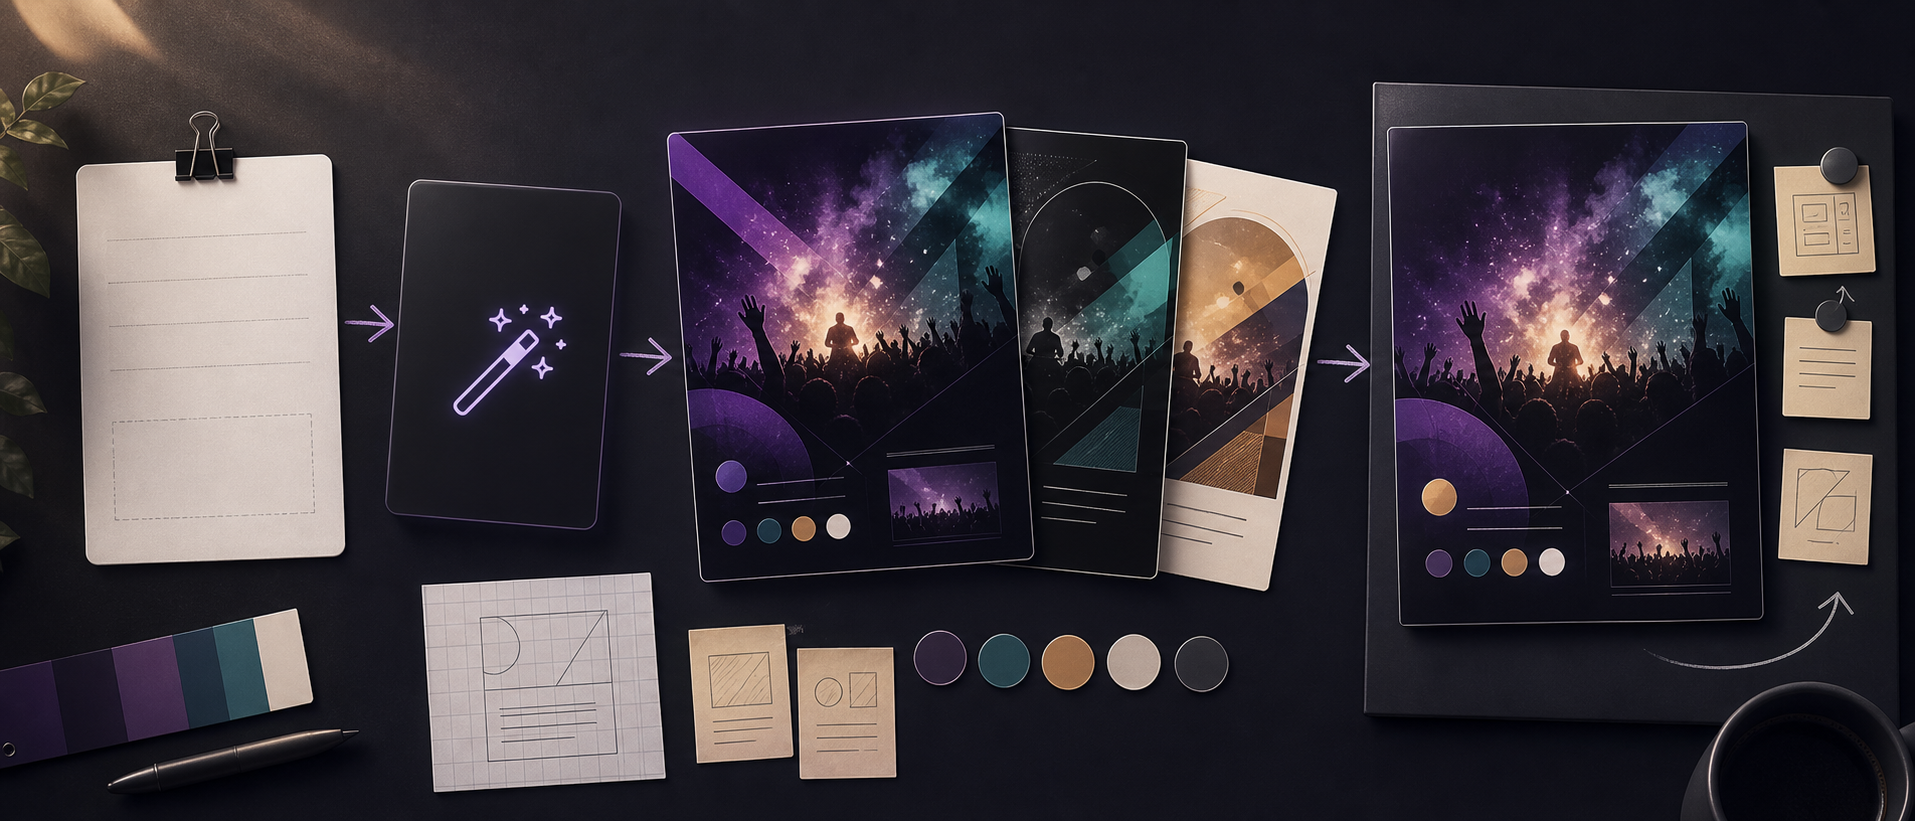
Use AI for the layout idea, then Word for final editing
If you are starting from a blank page, generate a flyer concept first with the AI Flyer Generator. Use the result as a design reference for spacing, color, image direction, and the order of information.
This is especially useful for business flyers, real estate flyers, sale flyers, and event flyers where a plain Word document can look too rough without a visual plan.

Checklist
- Use text boxes instead of long document paragraphs
- Keep the flyer to one page
- Make contact details readable at print size
- Export a PDF before printing
- Generate a visual draft first if the layout feels generic
Word flyer workflow
| Step | What to do in Word | What to generate first |
|---|---|---|
| Plan | Write the headline, details, and CTA before styling. | Ask Vismuse for a clean text hierarchy and layout direction. |
| Design | Use text boxes, shapes, one image area, and consistent spacing. | Generate visual examples for color, mood, and composition. |
| Export | Check margins and export as PDF for printing or sharing. | Use the generated flyer as the polished social version. |
Best workflow
Use Word for controlled print editing and final PDF export. Use Vismuse first when you want to avoid starting from a blank page or need a stronger visual direction.
Best for
- Printed office flyers
- Simple local announcements
- PDF handouts
Less ideal for
- Fast creative exploration
- Highly visual party flyers
- Social-first formats
Reusable examples
Word flyer layout prompt
Use this when you want a design reference before arranging the flyer in Word.
Create a print-ready flyer concept for [business, event, sale, or listing]. Use a large headline, one main image area, three detail bullets, contact footer, and a clear CTA. Make the layout simple enough to recreate in Microsoft Word with text boxes and shapes.
Frequently asked questions
Who is this guide for?
Microsoft Word can make a flyer when you need a printable document with familiar editing controls. The key is to treat the page like a flyer layout, not a normal document: one headline, one visual anchor, one detail block, and one action.
What workflow does this guide support?
This guide is designed to help with how to make a flyer in word and connects to the matching Vismuse workflow page for hands-on execution.
Do I need design experience to use this workflow?
No. Start with the guide structure, add the details you already know, and use the matching Vismuse generator to create and refine the visual.